
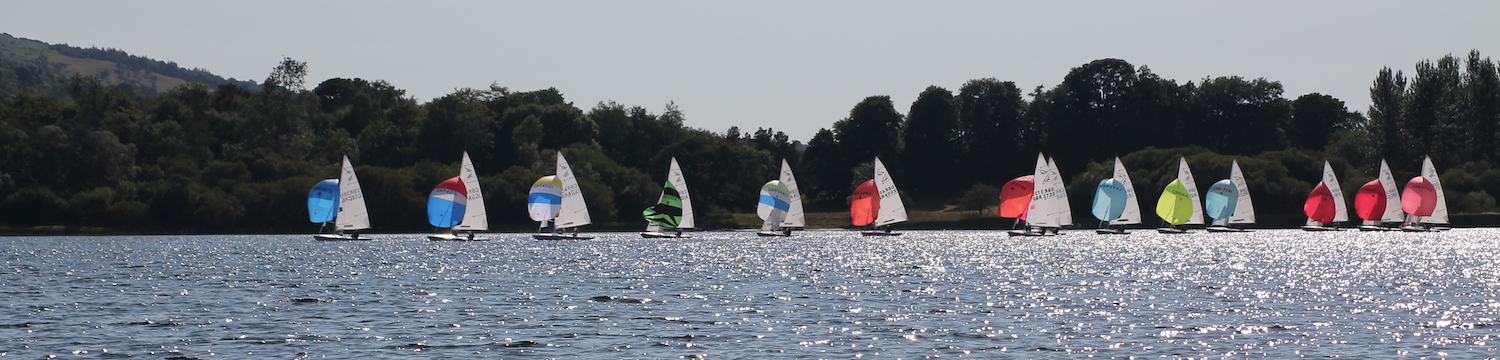
1) Sails
Lay out your sails on the lawn on a dry day and check for mouse holes, tears and missing stitching. Small amounts of stitching can be replaced using fine strands of whipping thread and a sailmakers needle following the existing holes. Larger holes or tears will need to be done by a sailmaker. At Bassenthwaite SC we are very lucky to have a sailmaker (Goacher Sails) at Windermere. Sailmakers get very very busy in spring so get them to him before Christmas.
For normal club racing a new sail should last about 10 years before it has been badly affected by ultra violet light and stretching. If you plan on this length of life they don’t seem quite so expensive so save up for changing them.
2) Mast
Lay out your mast on the ground and inspect the pulleys that the halyards pass through. If they are stiff to turn take out the screws holding the outer case. Knock the pivot out with a screwdriver. You should be able to polish the pulleys and lubricate the pivot with a little oil or grease.
Check the halyards for wear or fading caused by ultra violet light. They could be turned end for end to make them last longer. If you change them remember to tie a thin cord to the end of the old halyard so that you can easily pull through a new rope.
Check the stainless steel shrouds and forestay. If you have not already done this check both shrouds are the same length so the mast is not lob-sided. Check the wires for broken strands. These normally break by the brass ferule. If wires have broken then replace both shrouds with exactly the right length recommended by your class association.
Check the spreaders for length and deflection against the class recommendations.
Check the mast for corrosion. Boats that have been used on the sea will have more corrosion than fresh water boats. This could be terminal for the mast. Masts are expensive items but there are often second hand masts available on ebay.
3) Rudder
Put the tiller in the rudder stock and check it is a snug fit. Insulating tape can be added to stop it wobbling around.
Check the condition of the elastic or pull down ropes. These wear out over time and could snap.
Check the smoothness of the rudder surface under the water. A regular wet and dry will clean off grit and dust as well as painting imperfections. If you can see bare wood give it a quick sand, coat of primer and a gloss with waterproof yachting paint.
Check the rudder and pintles on the rudder and the back of the boat. They should be secure with no wobbles. Sometimes the securing screws come loose, the holes get bigger and water can get in to cause rot. Use evo stick on the screws to protect the wood and stop the screws coming loose.
Check the universal joint where the tiller extension joins the tiller. If this has cracked change it now before it snaps when you are sailing.
4) Centreboard/daggerboard
Take the centreboard out and give it a quick sand with wet and dry to make it more streamlined. If there is bare wood sand this down, prime and gloss it with yachting paint.
If there are any big dings then abrade the hollow and fill with plastic padding as used on cars and sand smooth before spray painting with Plasticote. If it is the bottom end cover the filler with a coat of resin mixed with hardener. It’s more difficult to smooth down but it’s stronger than filler.
5) Self-Bailers
These need very little maintenance but check they open easily and wash out any sand/mud.
6) Toe straps.
Check toe straps and securing ropes for fraying and ultra violet light damage. Give them a try out before you go for first sail.
7) Hull.
Give your hull a wash down with Flash or other non-sticky cleaner. Fill in any small chinks with gel coat mixed with a little hardener. Cover with insulating tape to get it pretty flat and this stops it staying sticky. When set remove the sticky tape.
If older repairs are starting to crack then grind down the surface gel coat, add a couple of layers of fine glass fabric doused in resin/hardener mix. Sand flat and paint on gel coat or spray with plasticote paint.
Take out any important securing screws from the shroud plates and forestay fittings. Dip the screws in evo stick and replace. If they seem a bit loose use a bigger screw or put in a sliver of soft plastic longer than the screw to make the hole narrower.
Check the hull cross-braces for cracks or breaks. They can be sanded and reinforced with new glass fibre tape and resin mix.
Check wooden backing blocks holding rudder, mast or shroud fittings. Wood rots very quickly in fresh water. They may need replacing with soft plastic sheet or blocks.
8) Pulleys and Blocks.
Pulleys may just need a rinse in clean water to remove sand and mud. If ratchets don’t work you will need to replace the pulley.
Many pulleys have now been upgraded to ball bearing blocks making it easier to pull the rope in with little weight difference.
9) Boat Cover
Take your cover off the boat and lay it on the lawn. Brush off loose leaves and moss. Then use scrubbing brush with Flash to get most of the rest off. Rinse. This will certainly clean a PVC cover. Don’t use a pressure washer as this will destroy the stitching and may make holes in fabric covers.
Check that all the straps are in place. Webbing and the plastic clips are readily available from eBay.
10) Bungs
Many bungs have a tiny rubber o-ring that makes the final waterproof seal. If it’s missing or if the bung itself is missing it’s time to replace. Be aware that there are many brands of bung and different designs. Don’t buy a bayonet fitting bung because they leak. Replace both the outer and inner at the same time to get a match. Drill a hole in the bung and attach it to your pintle with strong cord.
11) Trolley and Trolley Wheels.
Check that rubber protection for your boat has not fallen off the trailer and that there are no long screws protruding that could scratch the boat or rub along the floor.
Check the rubber on your tyres. Replace the wheel if the rubber is very cracked. Many people are now using large hub wheels with thin rubber outers as they don’t go flat.
12) Trailer
Check condition and age of your tyres. If cracked at all or over 10 years old (see date stamp on tyre) then replace. You do not want tyres to burst whilst driving.
Take the wheel off the hub, by removing the hub cap, split pin and tensioning nut, and check the bearings. If there is rusty water, rusty bearings, or the bearings are noisy when wheel is turned, then replace both bearings, including the outer sleeve, with a good quality bearing. Don’t buy bearings from Amazon or Ebay as these don’t have proper seals so water gets in and rusts the bearing very quickly.
If possible don’t leave your boat on the trailer. Leave it on its trolley. The weight of your boat will gradually turn the suspension arm on the trailer axle, then the wheel catches the mudguard, and then the wheel falls off. The suspension should last about 10 years but then needs replacing. If the suspension is inside the axle you have to replace the whole axle at about £400. If the suspension is in a box screwed under the axle these can be replaced for about £200.
13) Number Plate.
Plug your trailer lights into your car with the light board by your driver’s door. Check that all the lights work. If they don’t work start by taking the light board plug apart and check all the wires are connected. If one has snapped then shorten the cable are rewire the plug, referring to a lighting wiring diagram. If the lights still don’t work then take the socket on the car apart and check these wires are connected. Also check for corrosion of the terminals and wires as these are exposed all the time.
If you have decided that the fault is with the lights themselves then its better to replace the whole unit with LED lights as these are more reliable than old fashioned bulbs.